

And here's a tocks close-up:


 they're always needed, super trendy, and customizable. So I made my mother and two sisters their own tote bags. I kind of winged it in terms of a pattern. I learned a lot about the process of adding a liner from the bags when I made the bags for my grandmothers, and I just adapted that pattern for new bags. I'm also starting to not forget to add pockets to the inside! I did, however, forget to make a bag for myself. I think they're so cute but I'm kind of burned out from sewing....maybe I'll make a couple when the outdoor farmer's market starts up again.


 And finally I started my holiday crafting. I feel fairly safe posting what I've worked on so far. I'm making bags for both my grandmas and here's one bag all finished up. I used the Curved Gusset Bag from U-handblog. It sewed up really fast and it was easy even for me. It turned out really well and it's huge! I think it's almost too big.

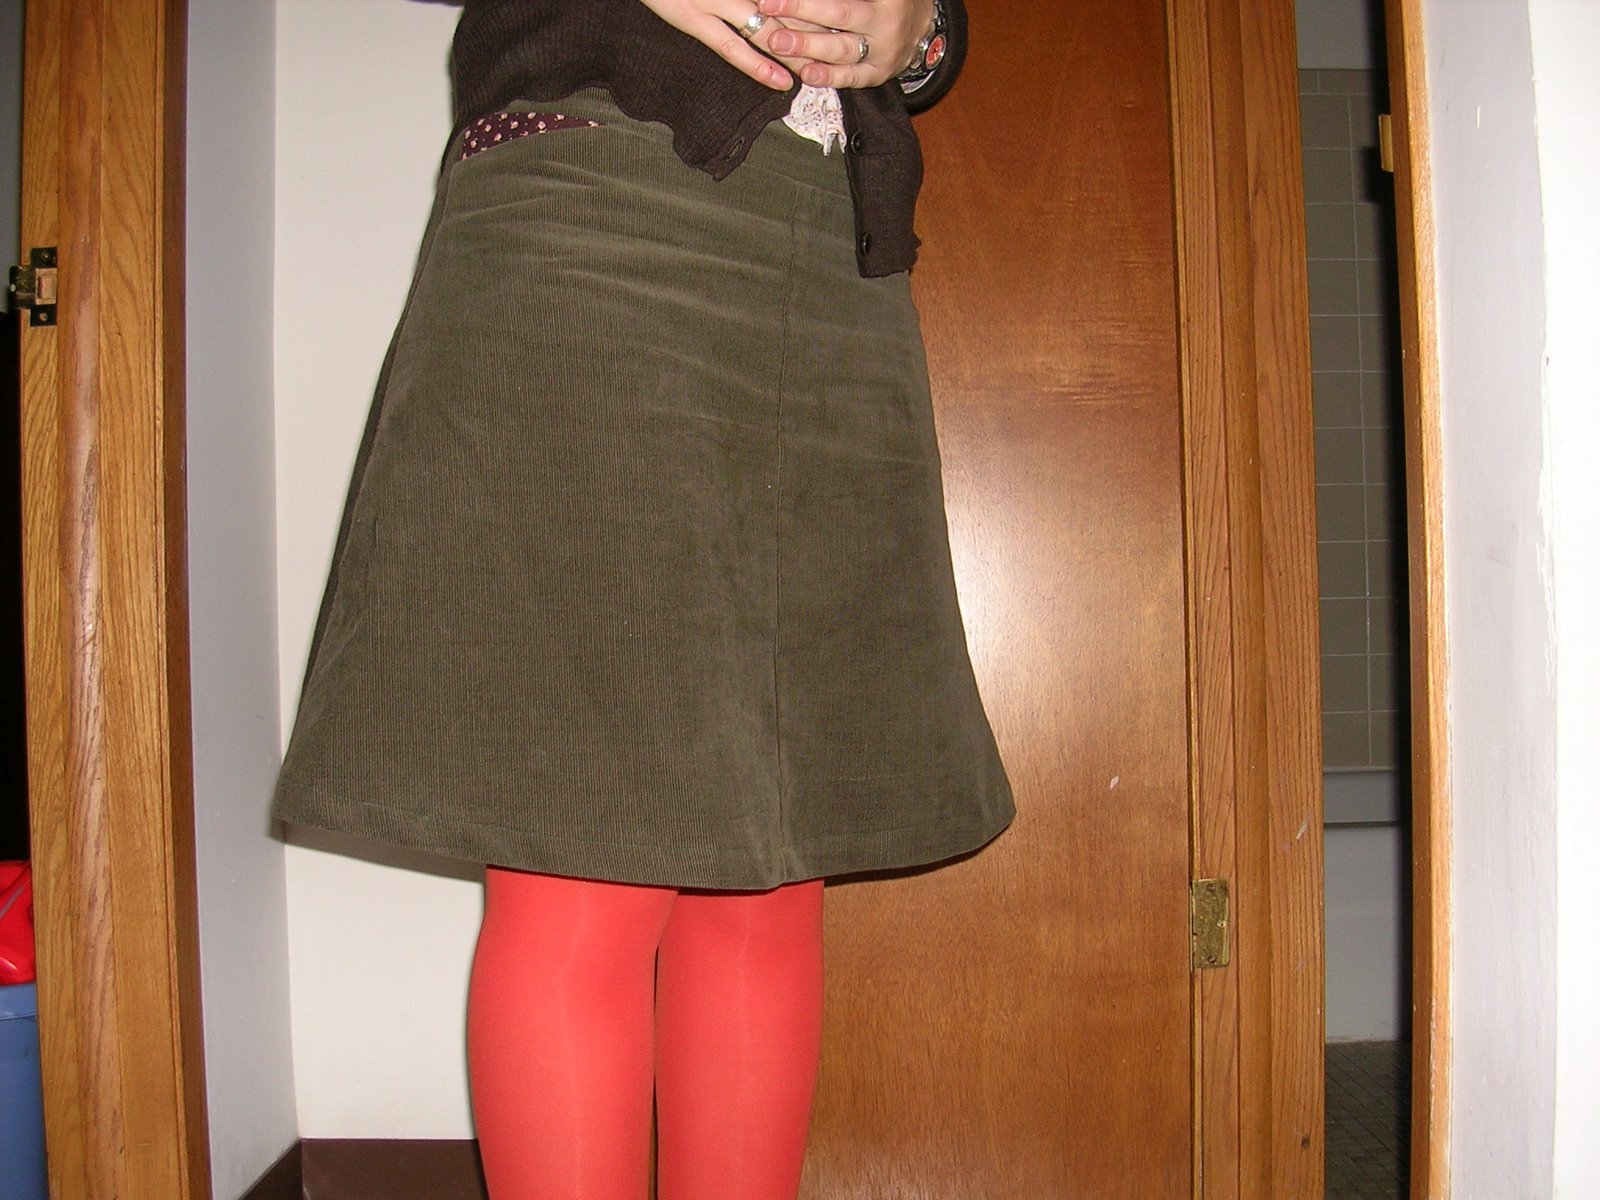
 Anyway, here is the jumper transformed into a basic A-line skirt. I thought I'd be cool and model it (I'm not sure if I'm pulling off the boots though...) I used another skirt of mine that I really like as the basic template and I added a cute fabric to the yoke on the inside (because I'm all about cute details...I'm a sucker for things that other people won't see...)
 Wow, Rita's sewing really puts mine to shame, but here it is anyway - my first baby steps toward both learning to sew and beginning a wardrobe recycling regimen with the bags of reject clothes on the floor of my closet. These tote bags made from tank tops are going to get stuffed into my regular everyday handbag so they'll be handy for library books & small grocery store trips.
 Here's a little sweater, from Simple Knits for Cherished Babies by Erika Knight, for my niece-to-be. It's super-tiny! It's made with Cotton-Ease, which I really enjoyed knitting with.
 Back in December I made a bunch of small felted bowls to give as gifts, but I made more sets than I gave away so I finally put the rest to use by nesting them tightly, stuffing the smallest ones & inverting them, then sewing them all together to make pincushions. And in keeping with my original intentions, I gave them to two coworkers who like to craft.


It's by no means as stylish or pretty as I imagined, but it gets the job done. I have enough fabric to make another one, but I'm trying to decide if I can make a messenger bag out of it. I want to be able to ride my bike to the grocery store, but I can't carry things back in a bag like this.
I also finally finished a shirt I've been meaning to alter for some time now:

I'm really happy with the way it turned out. The elastic around the bottom might work on some 16 year old, but I really wanted it loose and longer like a tunic. I wasn't sure what kind of fabric I should go with because the shirt is so busy. I didn't think a solid piece would work. When I found my final choice, I was fairly pleased. It compliments the red in the shirt and the flowers, but it's muted as well.
